Component-க்கு Props Pass செய்தல்
React components ஒருவருடன் ஒருவர் தொடர்பு கொள்ள props பயன்படுத்துகின்றன. ஒவ்வொரு parent component-மும் props கொடுத்து தனது child components-க்கு சில information pass செய்யலாம். Props உங்களுக்கு HTML attributes-ஐ நினைவூட்டலாம்; ஆனால் objects, arrays, functions உட்பட எந்த JavaScript value-யையும் அவற்றின் மூலம் pass செய்யலாம்.
நீங்கள் கற்றுக்கொள்ள போவது
- Component-க்கு props pass செய்வது எப்படி
- Component-இல் இருந்து props read செய்வது எப்படி
- Props-க்கு default values குறிப்பிடுவது எப்படி
- Component-க்கு சில JSX pass செய்வது எப்படி
- Props காலப்போக்கில் எப்படி மாறுகின்றன
பழக்கமான props
Props என்பது JSX tag-க்கு நீங்கள் pass செய்யும் information. உதாரணமாக, className, src, alt, width, மற்றும் height ஆகியவை <img>-க்கு pass செய்யக்கூடிய props-இல் சில:
function Avatar() {
  return (
    <img
      className="avatar"
      src="https://react.dev/images/docs/scientists/1bX5QH6.jpg"
      alt="Lin Lanying"
      width={100}
      height={100}
    />
  );
}

export default function Profile() {
  return (
    <Avatar />
  );
}
<img> tag-க்கு pass செய்யக்கூடிய props predefined ஆக உள்ளன (ReactDOM HTML standard-ஐ பின்பற்றுகிறது). ஆனால் <Avatar> போன்ற உங்கள் சொந்த components-ஐ customize செய்ய எந்த props-ஐயும் pass செய்யலாம். எப்படி என்று பார்ப்போம்!
Component-க்கு props pass செய்தல்
இந்த code-இல், Profile component தனது child component ஆன Avatar-க்கு எந்த props-ஐயும் pass செய்யவில்லை:
export default function Profile() {
  return (
    <Avatar />
  );
}
இரண்டு steps-இல் Avatar-க்கு சில props கொடுக்கலாம்.
படி 1: Child component-க்கு props pass செய்யுங்கள்
முதலில், Avatar-க்கு சில props pass செய்யுங்கள். உதாரணமாக, இரண்டு props pass செய்வோம்: person (ஒரு object), மற்றும் size (ஒரு number):
export default function Profile() {
  return (
    <Avatar
      person={{ name: 'Lin Lanying', imageId: '1bX5QH6' }}
      size={100}
    />
  );
}இப்போது Avatar component-க்குள் இந்த props-ஐ read செய்யலாம்.
படி 2: Child component-க்குள் props read செய்யுங்கள்
function Avatar-க்கு நேரடியாக பிறகு ({ மற்றும் }) உள்ளே, props பெயர்களான person, size-ஐ comma-களால் பிரித்து list செய்வதன் மூலம் இந்த props-ஐ read செய்யலாம். இது ஒரு variable போல Avatar code-க்குள் அவற்றைப் பயன்படுத்த அனுமதிக்கிறது.
function Avatar({ person, size }) {
  // person and size are available here
}
Rendering-க்கு person மற்றும் size props பயன்படுத்தும் சில logic-ஐ Avatar-க்கு சேர்த்தால் முடிந்தது.
இப்போது வெவ்வேறு props கொண்டு பல வகையில் render செய்ய Avatar-ஐ configure செய்யலாம். Values-ஐ மாற்றிப் பார்த்து முயற்சிக்கவும்!
import { getImageUrl } from './utils.js';

function Avatar({ person, size }) {
  return (
    <img
      className="avatar"
      src={getImageUrl(person)}
      alt={person.name}
      width={size}
      height={size}
    />
  );
}

export default function Profile() {
  return (
    <div>
      <Avatar
        size={100}
        person={{
          name: 'Katsuko Saruhashi',
          imageId: 'YfeOqp2'
        }}
      />
      <Avatar
        size={80}
        person={{
          name: 'Aklilu Lemma',
          imageId: 'OKS67lh'
        }}
      />
      <Avatar
        size={50}
        person={{
          name: 'Lin Lanying',
          imageId: '1bX5QH6'
        }}
      />
    </div>
  );
}
Props, parent மற்றும் child components பற்றி தனித்தனியாக சிந்திக்க உதவுகின்றன. உதாரணமாக, Avatar அவற்றைப் பயன்படுத்தும் முறையைப் பற்றி சிந்திக்காமல் Profile-க்குள் person அல்லது size props-ஐ மாற்றலாம். அதேபோல், Profile-ஐ பார்க்காமல் Avatar இந்த props-ஐ எப்படி பயன்படுத்துகிறது என்பதை மாற்றலாம்.
Props-ஐ நீங்கள் adjust செய்யக்கூடிய “knobs” போல நினைக்கலாம். Functions-க்கு arguments செய்யும் வேலையே இவை செய்கின்றன—உண்மையில், props தான் உங்கள் component-க்கு வரும் ஒரே argument! React component functions ஒரு props object என்ற single argument-ஐ accept செய்கின்றன:
function Avatar(props) {
  let person = props.person;
  let size = props.size;
  // ...
}
பொதுவாக முழு props object தேவையில்லை; எனவே அதை individual props ஆக destructure செய்வீர்கள்.
Prop-க்கு default value குறிப்பிடுதல்
Value specify செய்யப்படாதபோது fallback ஆக prop-க்கு default value கொடுக்க விரும்பினால், destructuring-இல் parameter-க்கு உடனே பிறகு = மற்றும் default value வை வைத்து செய்யலாம்:
function Avatar({ person, size = 100 }) {
  // ...
}
இப்போது, <Avatar person={...} /> size prop இல்லாமல் render செய்யப்பட்டால், size 100 ஆக set செய்யப்படும்.
Default value, size prop missing ஆக இருந்தால் அல்லது size={undefined} pass செய்தால் மட்டுமே பயன்படுத்தப்படும். ஆனால் size={null} அல்லது size={0} pass செய்தால், default value பயன்படுத்தப்படாது.
JSX spread syntax மூலம் props forwarding
சில நேரங்களில் props pass செய்வது மிகவும் repetitive ஆகிவிடும்:
function Profile({ person, size, isSepia, thickBorder }) {
  return (
    <div className="card">
      <Avatar
        person={person}
        size={size}
        isSepia={isSepia}
        thickBorder={thickBorder}
      />
    </div>
  );
}
Repetitive code-இல் தவறு எதுவும் இல்லை—அது அதிகம் legible ஆக இருக்கலாம். ஆனால் சில நேரங்களில் conciseness-ஐ நீங்கள் விரும்பலாம். சில components தங்கள் props அனைத்தையும் children-க்கு forward செய்கின்றன; இந்த Profile Avatar-க்கு செய்வது போல. அவை தங்கள் props எதையும் நேரடியாக பயன்படுத்தவில்லை என்பதால், மேலும் concise ஆன “spread” syntax பயன்படுத்துவது பொருத்தமாக இருக்கலாம்:
function Profile(props) {
  return (
    <div className="card">
      <Avatar {...props} />
    </div>
  );
}
இது Profile-ன் அனைத்து props-ஐயும் அவற்றின் பெயர்களை ஒவ்வொன்றாக list செய்யாமல் Avatar-க்கு forward செய்கிறது.
Spread syntax-ஐ கட்டுப்பாட்டுடன் பயன்படுத்துங்கள். ஒவ்வொரு மற்ற component-இலும் அதை பயன்படுத்துகிறீர்கள் என்றால், ஏதோ தவறு இருக்கிறது. பெரும்பாலும், நீங்கள் components-ஐ split செய்து children-ஐ JSX ஆக pass செய்ய வேண்டும் என்பதைக் குறிக்கிறது. அதைப் பற்றி அடுத்து பார்க்கலாம்!
JSX-ஐ children ஆக pass செய்தல்
Built-in browser tags-ஐ nest செய்வது பொதுவானது:
<div>
  <img />
</div>
சில நேரங்களில் உங்கள் சொந்த components-ஐயும் இதேபோல் nest செய்ய விரும்புவீர்கள்:
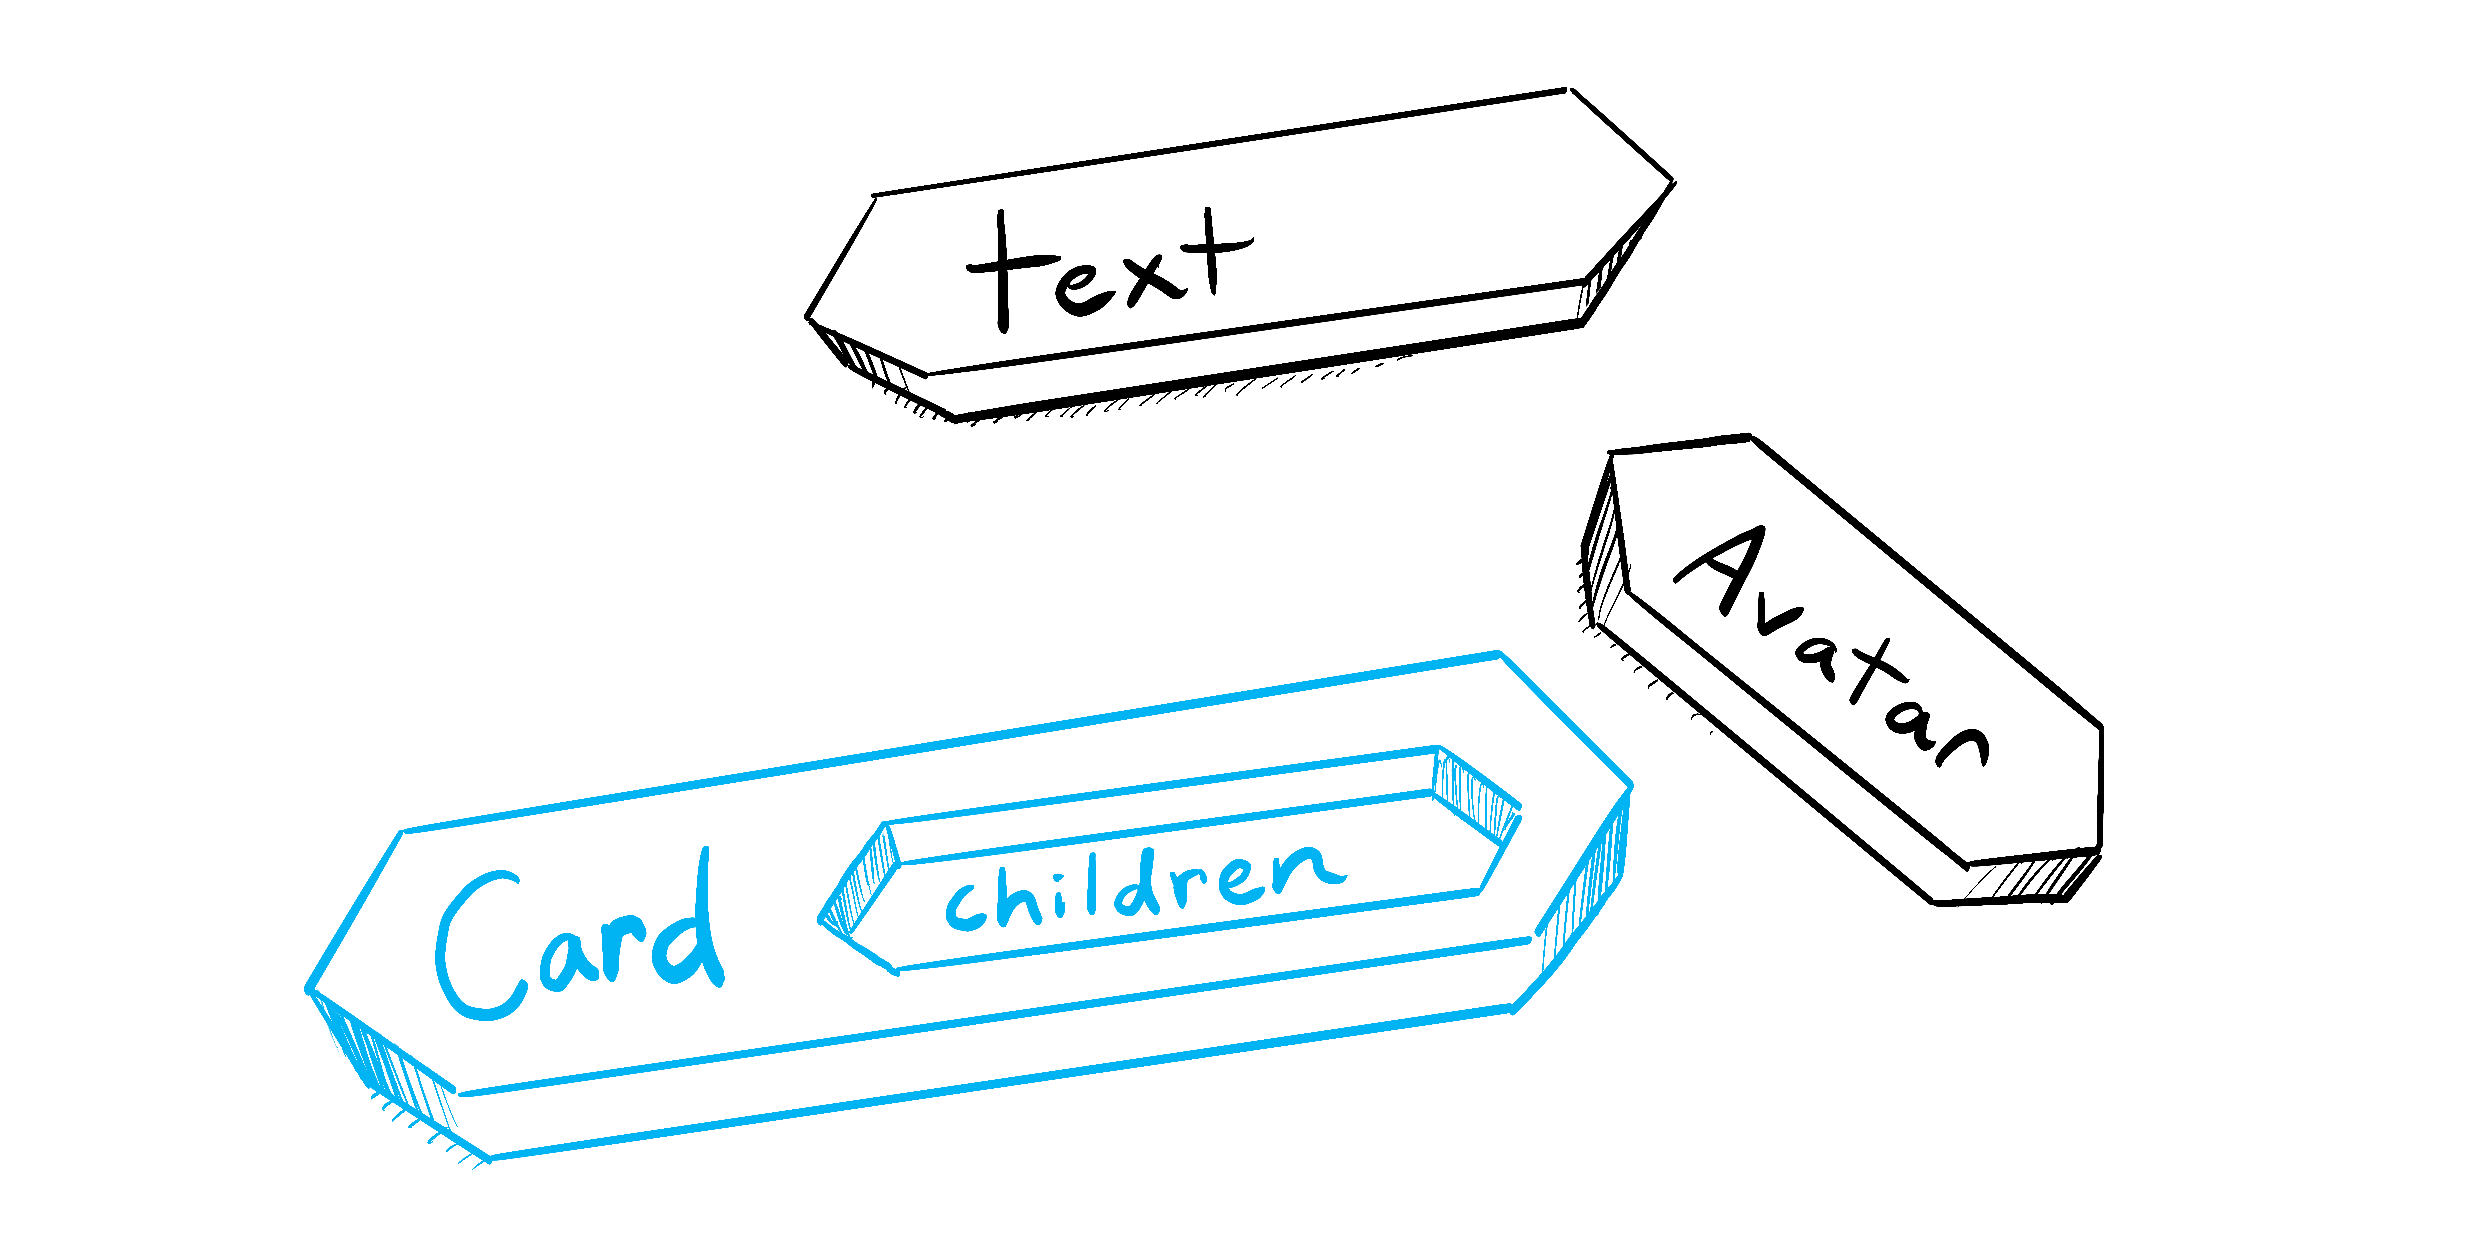
<Card>
  <Avatar />
</Card>
ஒரு JSX tag-க்குள் content-ஐ nest செய்தால், parent component அந்த content-ஐ children என்ற prop-இல் receive செய்யும். உதாரணமாக, கீழுள்ள Card component <Avatar /> ஆக set செய்யப்பட்ட children prop-ஐ receive செய்து, wrapper div-இல் அதை render செய்யும்:
import Avatar from './Avatar.js';

function Card({ children }) {
  return (
    <div className="card">
      {children}
    </div>
  );
}

export default function Profile() {
  return (
    <Card>
      <Avatar
        size={100}
        person={{
          name: 'Katsuko Saruhashi',
          imageId: 'YfeOqp2'
        }}
      />
    </Card>
  );
}
Card-க்குள் உள்ள <Avatar>-ஐ சில text-ஆக replace செய்து, Card component எந்த nested content-ஐயும் wrap செய்ய முடியும் என்பதைப் பாருங்கள். அதன் உள்ளே என்ன render ஆகிறது என்பதை அது “தெரிந்திருக்க” வேண்டியதில்லை. இந்த flexible pattern-ஐ பல இடங்களில் காண்பீர்கள்.
children prop கொண்ட component-ஐ, அதன் parent components arbitrary JSX கொண்டு “fill in” செய்யக்கூடிய “hole” வைத்திருப்பது போல நினைக்கலாம். Panels, grids போன்ற visual wrappers-க்கு children prop-ஐ அடிக்கடி பயன்படுத்துவீர்கள்.
Illustrated by Rachel Lee Nabors
Props காலப்போக்கில் எப்படி மாறுகின்றன
கீழுள்ள Clock component தனது parent component-இலிருந்து இரண்டு props receive செய்கிறது: color மற்றும் time. (Parent component-ன் code omit செய்யப்பட்டுள்ளது, ஏனெனில் அது state பயன்படுத்துகிறது; அதில் இப்போது ஆழமாகப் போகமாட்டோம்.)
கீழுள்ள select box-இல் color-ஐ மாற்றிப் பாருங்கள்:
export default function Clock({ color, time }) {
  return (
    <h1 style={{ color: color }}>
      {time}
    </h1>
  );
}
இந்த example, ஒரு component காலப்போக்கில் வெவ்வேறு props receive செய்யலாம் என்பதை காட்டுகிறது. Props எப்போதும் static அல்ல! இங்கே, time prop ஒவ்வொரு second-மும் மாறுகிறது, color prop நீங்கள் வேறு color select செய்தால் மாறுகிறது. Props, தொடக்கத்தில் மட்டும் அல்லாமல் எந்த நேரத்திலும் component-ன் data-வை reflect செய்கின்றன.
ஆனால் props immutable—computer science-இல் “மாற்ற முடியாதது” என்று பொருள் கொண்ட term. Component தனது props-ஐ மாற்ற வேண்டியிருந்தால் (உதாரணமாக, user interaction அல்லது new data-க்கு response ஆக), அது parent component-இடம் வேறு props—புதிய object—pass செய்ய “கேட்க” வேண்டும்! அதன் பழைய props பிறகு aside செய்யப்படும்; இறுதியில் JavaScript engine அவை எடுத்த memory-ஐ reclaim செய்யும்.
”Props-ஐ change செய்ய” முயலாதீர்கள். User input-க்கு respond செய்ய வேண்டியபோது (selected color மாற்றுவது போன்றது), நீங்கள் “state set” செய்ய வேண்டும்; இதைப் பற்றி State: A Component’s Memory.-இல் கற்றுக்கொள்ளலாம்.
Recap
- Props pass செய்ய, HTML attributes போலவே அவற்றை JSX-க்கு சேர்க்கவும்.
- Props read செய்ய,
function Avatar({ person, size })destructuring syntax பயன்படுத்தவும். size = 100போன்ற default value குறிப்பிடலாம்; இது missing மற்றும்undefinedprops-க்கு பயன்படுத்தப்படும்.<Avatar {...props} />JSX spread syntax மூலம் அனைத்து props-ஐ forward செய்யலாம், ஆனால் அதிகமாக பயன்படுத்த வேண்டாம்!<Card><Avatar /></Card>போன்ற nested JSX,Cardcomponent-ன்childrenprop ஆக தோன்றும்.- Props என்பது காலத்திலான read-only snapshots: ஒவ்வொரு render-மும் props-ன் புதிய version receive செய்கிறது.
- Props-ஐ change செய்ய முடியாது. Interactivity தேவைப்படும்போது, state set செய்ய வேண்டும்.
Challenge 1 of 3: Component ஒன்றை extract செய்யுங்கள்
இந்த Gallery component இரண்டு profiles-க்கு மிகவும் ஒத்த markup கொண்டுள்ளது. Duplication-ஐ குறைக்க அதிலிருந்து Profile component ஒன்றை extract செய்யுங்கள். அதற்கு எந்த props pass செய்ய வேண்டும் என்பதை நீங்கள் தேர்வு செய்ய வேண்டும்.
import { getImageUrl } from './utils.js';

export default function Gallery() {
  return (
    <div>
      <h1>குறிப்பிடத்தக்க விஞ்ஞானிகள்</h1>
      <section className="profile">
        <h2>Maria Skłodowska-Curie</h2>
        <img
          className="avatar"
          src={getImageUrl('szV5sdG')}
          alt="Maria Skłodowska-Curie"
          width={70}
          height={70}
        />
        <ul>
          <li>
            <b>தொழில்: </b>
            physicist மற்றும் chemist
          </li>
          <li>
            <b>விருதுகள்: 4 </b>
            (Nobel Prize in Physics, Nobel Prize in Chemistry, Davy Medal, Matteucci Medal)
          </li>
          <li>
            <b>கண்டுபிடித்தது: </b>
            polonium (chemical element)
          </li>
        </ul>
      </section>
      <section className="profile">
        <h2>Katsuko Saruhashi</h2>
        <img
          className="avatar"
          src={getImageUrl('YfeOqp2')}
          alt="Katsuko Saruhashi"
          width={70}
          height={70}
        />
        <ul>
          <li>
            <b>தொழில்: </b>
            geochemist
          </li>
          <li>
            <b>விருதுகள்: 2 </b>
            (Miyake Prize for geochemistry, Tanaka Prize)
          </li>
          <li>
            <b>கண்டுபிடித்தது: </b>
            seawater-இல் carbon dioxide அளவிடும் method
          </li>
        </ul>
      </section>
    </div>
  );
}